Making a private cloud with Virtual Box
In this lab we are going to learn how to install, configure and understand how the cloud technology work. I’m using Win10 in the host computer and Ubuntu for Virtual machine. For virtualization,in this example, i use Virtual Box, can use VMware as well(steps almost same). You can donwnload all the above software in the links below:
Ubuntu
Virtual Box
Virtual Box Extension
1) First do the installation of Virtual Box and install Ubuntu on it. I will not describe in details these steps, lots of materials out there, one of them here
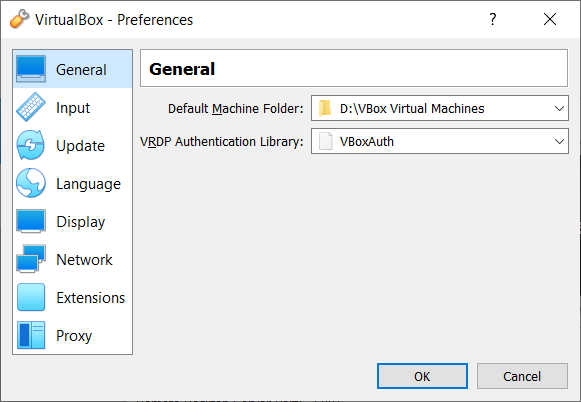
2) Set the path to your virtual machine by pressing Ctrl + g
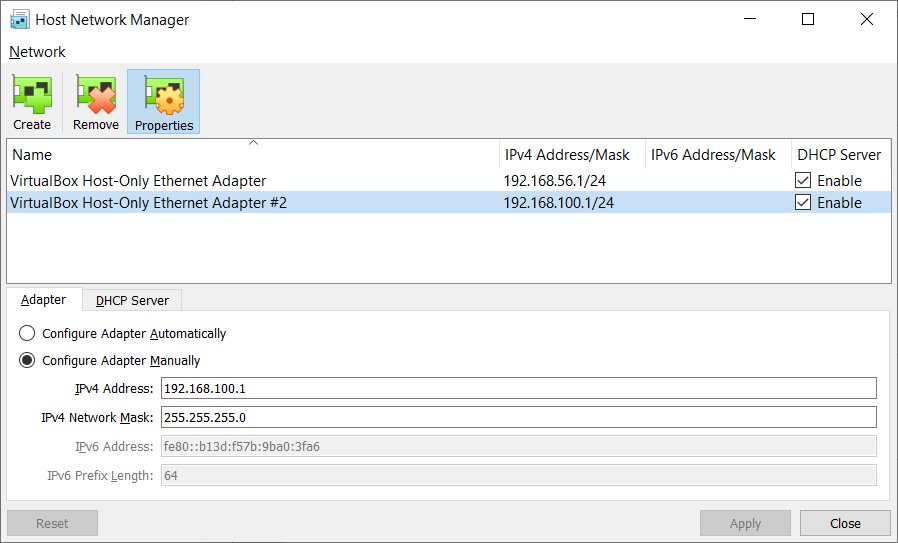
3)Create a Virtual Network within Virtual Machine(->Host Network Manager)
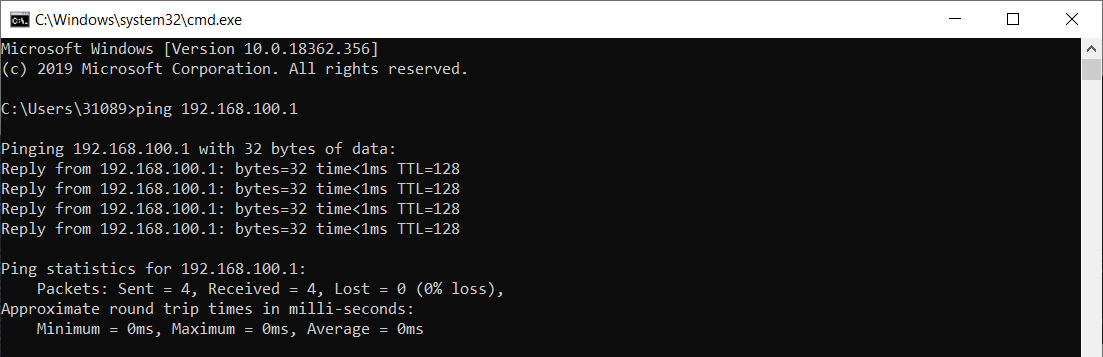
I’ve created Adapter #2 and set the IPv4 to :192.168.100.1
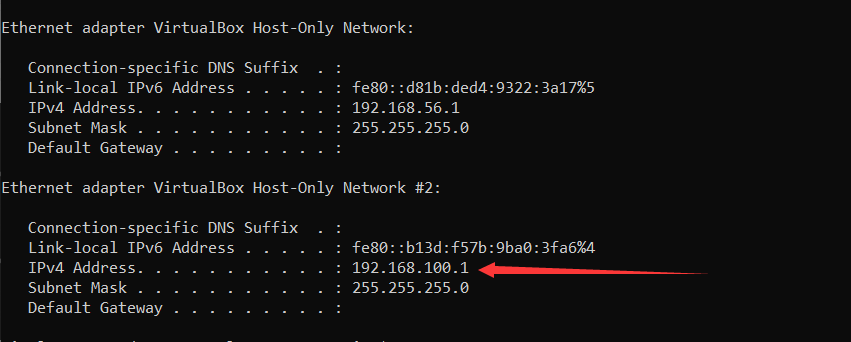
When you apply the changes, you can check from your host in cmd
After that run your Virtual Machine, and hit the CTRL + ALT + T buttons to open up terminal, in the terminal first type this command
sudo apt update && sudo apt upgrade -y
after updating your Ubuntu, can start configuring the NC.
In terminal, type in sudo nmtui

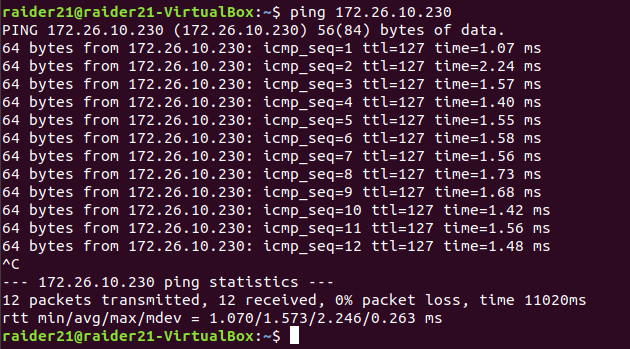
In activate connection choose the second NC that we have created previously and activate it. Now we are able to ping our VM from the host:
And vice versa
4) Install the second Virtual Machine
Clone the existed Ubuntu VM:
- Right click on VM, press Clone
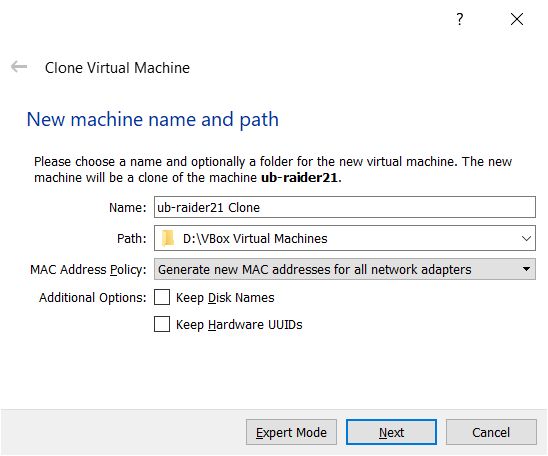
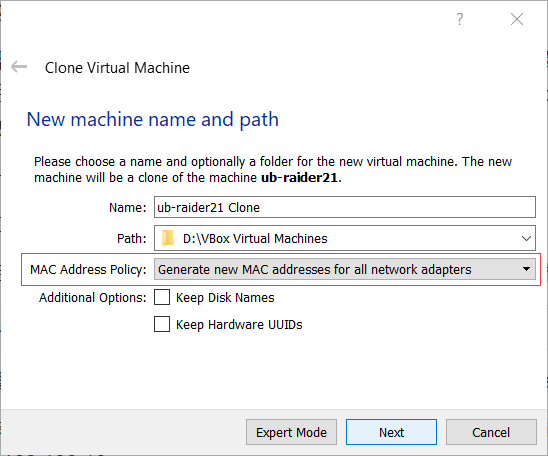
- Choose Generate new MAC addresses for all network adapters
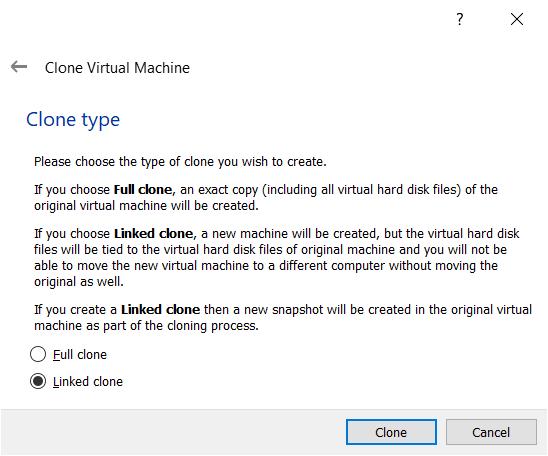
- Choose Linked clone and start cloning
- Create the new NC for the clone as in step3 but change it’s IP address, for example i’ve set it to: 192.168.100.11
5) Restart the VM
6) Now we are able to connect to our VM, but first we need to install the Virtual Box Extension that we’ve downloaded in the beginning.
Press CTRL + g go to Extensions and add that downloaded package and finish the installation. All VMs need to be turned off !
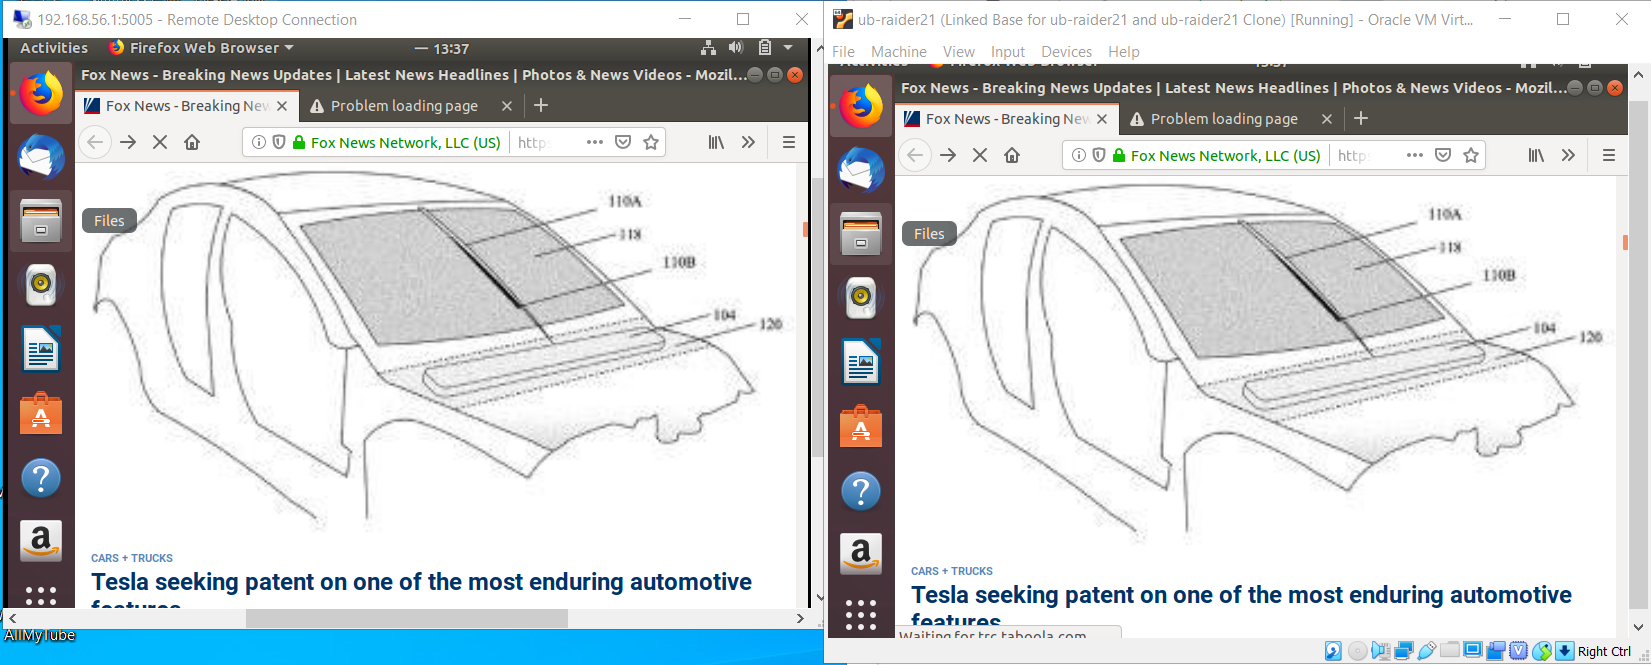
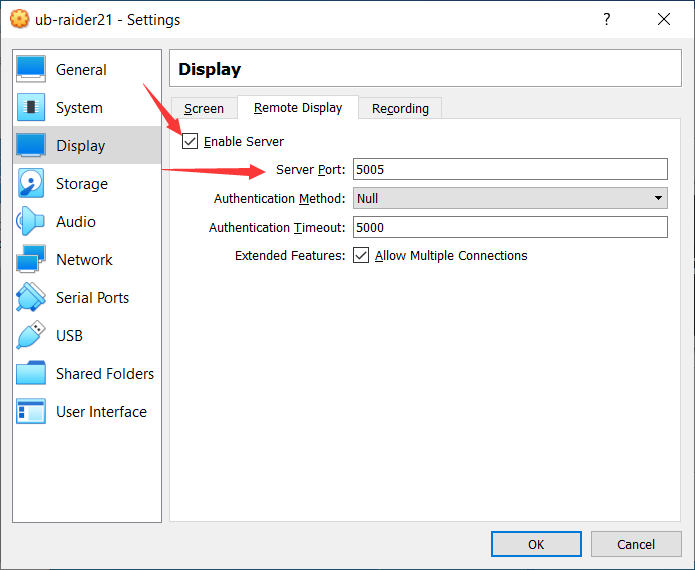
Set the port # for the first VM, and use the Remote Desktop Connection App to connect (app included in Win10)
 And we connected successfully: